CLICK HERE FOR FREE BLOGGER TEMPLATES, LINK BUTTONS AND MORE! »

Wednesday, March 30, 2011

Cube Puzzle(Melissa and Doug Inspired)

With Colton's birthday being tomorrow but his party being Saturday I wanted to have a special day for his actual birthday. Going through Google showing my husband this puzzle asking him if he thought I could remake this. Well he said of course because he has the items to cut the wood and also told me it would be really easy.
On one of the trips to Lowe's we bought a 2X2 board for $1.77 and there is PLENTY left over for other projects. While he was cutting the board into squares (2X2)

 I googled Thomas the Tank pictures. I found two pictures I was happy with and would be fairly easy to piece together. I could have done all four sides, but for a toddler i thought it might be too much for him. I modge podged the paper to the wood and added two layers on top.

After I thought it was finished I noticed that there needed to be a frame to keep it together. I looked around the house and chose a Dollar Tree 8 1/2 X11 frame I had and had husband cut it to the puzzle size. I then painted it black and left it without a back so the frame can be used for other puzzles I may will make.

So there you go! A fun and easy puzzle to fit Colton's two loves! Puzzles and Thomas. I can't wait to have this waiting for him along with some bubbles in the morning when he wakes up!
Happy crafting and enjoy your Rays of Sunshine even on the dreary days!


Tuesday, March 29, 2011

Easter Bunny craft!

Supplies needed
SWEET!!!
Stepping into Hobby Lobby just for some framing when a 50% off Easter decor sale is happening just doen't cut it. There is NO WAY someone addicted to sale signs as I am can hold off. Browsking and loading up the cart with goodies I found a plain old cardboard type of bunny. On a first trip to Hobby Lobby I bought modge podge seeing as many people use it and the possibilities are endless. So I just bought 1 bunny but may go back and load up on some more. I bought some Easter scrapbook paper; just a yellow with polka dots. In the Easter aisle i found some felt flower stickers...yes i said stickers! They are amazing! So cute as well!!!
So I traced the bunny on the paper. I added a layer of modge podge to the bunny and then the paper and added a layer to the finish product. Once the modge podge dried I added a few felt stickers as well.
I don't think I could be happier as how it turned out! Oh and the best part? It only cost $2! Yes, $2!! Imagine a crazy woman jumping up and down in her sun room yelling( as it echos) and the husband walking in on you as your so excited to tell him all about a project he doesn't really care about  and that my friends is me.
Happy frugal crafting!


Repurposed Entertainment Center

While the husband was deployed through many a talks we shared one was swapping ideas and plans for Colton's 2nd birthday. Even though his birthday isn't until March.31(just a couple days) we decided on a project I found.Sutton Grace click the link and you will see her work and take on a kitchen she made for her kids. Josh and I already had an entertainment center. We were the couple that had a tv in our room as well as in the living room; however we never watched it.
Since husband was deployed for a year he got a whole month off  and just so happened it was this month. We went right to work on the kitchen planning everything that w needed to get and do. We also made a trip to Habitat Humanity Restore. Yeah, lets say that place is awesome! We could have gotten things we needed for the house instead of having to buy brand new. But anyways, this project was fun and can't wait for the next project husband and I embark on!

Before...in process


Finished!


The sink bowl is a dog dish, the counter top is floor laminate. The knobs,hot/cold,and coils are real and bought from the Restore. I painted a chalkboard menu with chalkboard paint. Both frames were made from Hobby Lobby. The beach picture was taken by me when husband and I lived in Hawaii and of course where Colton started out in my tummy! We bought Colton a set of pots and pans they are way small! But once i took a look at the kids kitchens it all came to me. Our kitchen is more like the real deal which I love! Our little boy will be 2 in two days and I can't believe it! But, the party is Saturday so the kitchen will be kept in hiding in the garage until then.
What do you all think? Don't you notice the yellow paint? I think it is a coincidence that the kitchen matches my blog. When I think of sunshine I think of my yellow. When I think of My Rays of Sunshine I think of my boys :)I am so excited to see Colton's reaction!


Sunday, March 27, 2011

Pantry Organizing

A few weeks ago on a trip to the Dollar Tree I loaded up on plastic containers for pantry things like Sugar,Salt and so on. I was waiting to buy some vinyl for my Cricut to put the name neatly on the container. On one of the many trips to Walmart I was looking at what to add to the craft closet and decided to take a look at the clearance back aisles and low and behold I found chalkboard paint! Now, I bought it for a different project I will reveal soon. But, once getting home I thought of the PERFECT idea for it- the plastic containers! I ran and grabbed a paint brush and painted a strip on each container. Once dry I wrote the name. The chalk I have isn't the best, so the writing will look a little funky in the picture. It does look better now. I really am happy with how they turned out.

Not perfect, but good enough for us!

Yes, the Salt container is empty. We go through it like no tomorrow, I am always making a new flavor of playdough. As for using it to cook with I don't. I don't add salt and pepper unless absoutely neccessary and any other time I let the person eating add it themselves. My food is not bland either, I choose other seasonings. Happy painting!

Homemade Blanket(NO SEW!)

Yes, the post says No-Sew! I have yet to try our my new sewing machine because I have been busy with Colton's birthday planning and soaking up time with the husband before work takes him for the day. A couple weeks ago Walmart had a sale on fleece so when I saw the infamous Thomas the Tank engine staring me down I snatched it as well as another type of Thomas fleece. I LOVE the fleece No sew blankets, Colton has one already with John Deere his grandma made him and I have one I made for myself pink of course. But Thomas is the new craze in the house and even though my child has more blankets a person could need, I decided to make him one anyways.
For any of you that has never made one, they are EASY and FAST! Yes, I said fast! I only bought a yard of each for a child this is really all you will need. Lay out your fabric and cut a 4X4 square from each corner. Next, cut strips on every side and tie them off. Now, it's DONE! Yes, not hard and painless. Not really any thinking involved either.

4X4 square, you will place this in EVERY corner and cut out

This tie works best

FINISHED!
So there you have it, a quick and painless project ANYONE can do! Happy crafting!


Home Management Binder

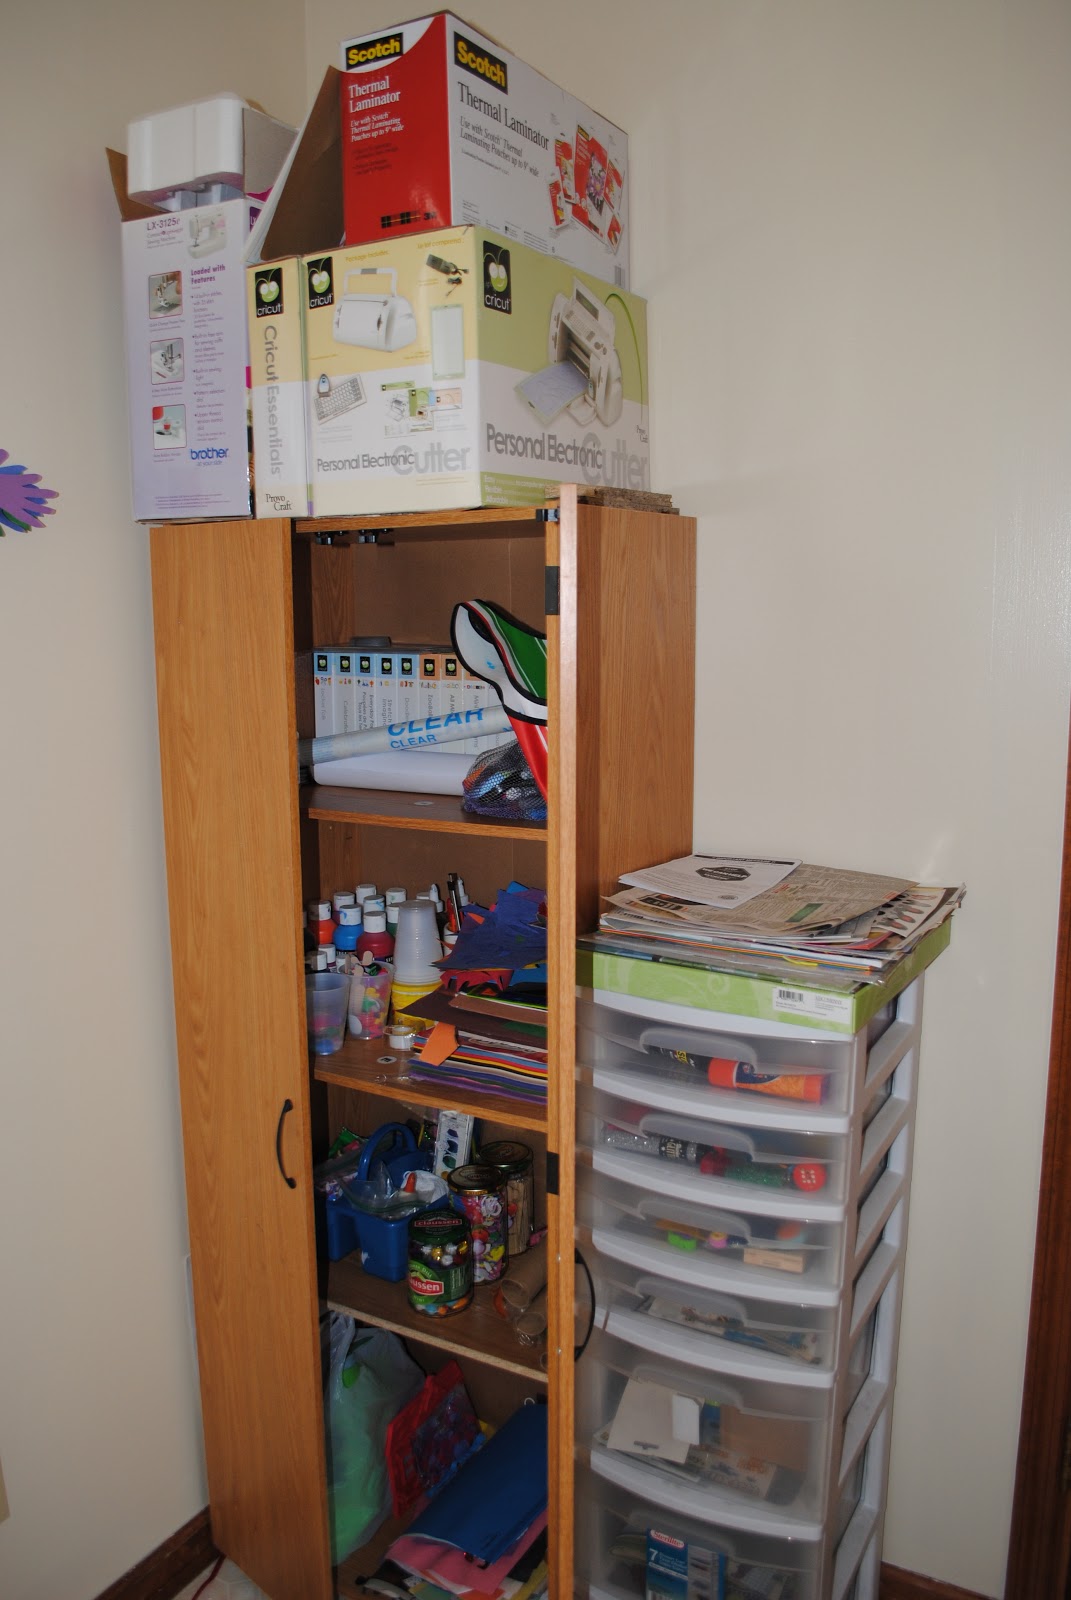
Our home is in need of organizing. Not just our home, but our family. So, when I was hopping and googling organizization and blogs; I came across A Bowl Full of Lemons. This blog is a new favorite for all the organizing ideas. I decided on embarking on my own Home Management Binder for our family. I started and finished today. Being a mom, I decided to fill the 'nap' time with creating the Binder. My girly self would and will decorate the outside of the Binder, but for right now, I am happy with how it looks.
I decided for our family to section it with:
A calendar, A week planner, Menu, Cleaning, Bills, To Do's, and Grocery/Couponing. For ech section I color coded with certain colors and also included a folder for each one in their color. In the grocery section I also included a notebook for list making or notes. I gave the Binder a title page and even included a page to explain each color code. The husband was impressed and thought it a bit weird I had a weekly menu planner in there, but gave me the idea to laminate it. So, of course i laminated it and also the house cleaning one as well. I used Microsoft Word for creating each page and design. For the calendar, I used power point.
Here is what our Binder looks like:


Calendar per month


My fav-menu planner and laminated too

Chores and laminated too
To Do list
restaurant coupons on left and birthday coupons on right
Next month I plan to make this bigger to fill the page
I bought all the supplies for the Binder at Dollar Tree.Laminating pages you will use over and over will help not only save ink and paper, but also time and money. If any of you try this or have one of your own, I would LOVE to see! Happy organizing and take time to enjoy your Rays of Sunshine!

Thursday, March 24, 2011

Drum roll please!

There wasn't many people that signed up for the giveaways I posted. The winner of both the Petcakes and My Lipstuff was JB Hartling!
THANK YOU FOR ENTERING!


Vacation!

So the husband has had the last couple days of February and most of March off since he was deployed a year. We decided on a handful of ideas. We narrowed it down to the Smokey mountains or Nashville. It was a difficult choice but thought it through on the financial side of what we would need and with us getting the internet so late that there wasn't much planning we could do and Nashville has always been planned for the most part in my head since I was a little girl.
I am a planner and organizer when it comes to a vacation. Husband decided on leaving Monday and coming home Wednesday. In that time I had to make sure what I planned for us to see and do could be done in that amount of time and what days we would do what. As well as outfits. I usually pack way more than needed but this time I packed just enough.
I also liked to plan kid friendly items first and then do all the adult fun stuff later. We visited a lot! I tend to JAM PACK our days.

ROOOAAARRRRR

Tennessee State Capitol, we took a tour as well.

GORGEOUS! A replica of The Parthenon in Greece

Tuesdays for Tots at the Cheekwood Botannical Garden and Museum of Art
My favorite, Minnie Pearl.
The Ryman...beautiful and of course we toured as well.
Andrew Jackson's home
and Andrew Jackson's tonmb
I had a lot of fun. I forgot to mention that Nashville has been a place I have waited to go for a long time. When I was a little girl I spent most weekends by choice at my grandparents house watching the Grand Ole Opry with an ice cream scoop microphone in hand. My grandmother told me that when I graduated high school she and my grandfather would take me. Well, the year I graduated she passed away. I knew I would get there one day but had no idea when. This trip was moving to me in so many ways. So many emotions walking into places she once was.
My Rays of Sunshine beamed bright during our vacation  and rain stayed away.

Sunday, March 20, 2011

Craftroom Unveil!

This door leads to the deck

I have been waiting on getting a table to complete the room. Well, a couple days ago I got my wish! So i went right to work on decorting and having an afternoon of crafts. Colton LOVES the room and being in there. Husband and I bought Colton a cd player for his room even before he was born, but I stole took it for our craft room. We listen to childrens music and craft our hearts away. It was SO FUN watching him sway back and forth as he was gluing. My heart skipped a beat <3


I really love this wall! Handprint rainbow butterflies...my fav

Craft supplies...drawers and cabinet is JAM PACKED! The drawers hold most scrapbook stuff

Our simple, yet efficient table

This one is on left side window
Right above where we craft :)

Well, what do you all think? I love this room because the room is FULL of full length windows for sunshine and also because there are easy clean floors in there too! Happy crafting!


Dying pasta

So, I have seen dyed rice and pasta all over blog land and have wanted to attempt it but was searching for a pasta wheel. I FINALLY found some at Walmart. I don't grocery shop there because the Commissary is cheapest around and closer too. Well, I chose Fiori. They look like flowers, which because they do I have yet another craft to do in the next week or so.
I found a recipe to dye pasta HERE. Make sure you have a well ventilated area when dying the pasta  and I chose to do this when Colton was napping so I could store in a different room for drying for the night so he wasn't smelling the fumes.


This is the step of the pasta soaking up all the color

drying out...color is so vibrant!

I just love the rainbow pasta!
On the window
The project of making a sun catcher from the pasta I found many months ago at Pink and green mama. Her blog is awesome! Now go dye some pasta and have fun!
**TIPS** 1 box will make all colors. 1cup per color. You will also have left overs.