CLICK HERE FOR FREE BLOGGER TEMPLATES, LINK BUTTONS AND MORE! »

Thursday, September 22, 2011

Blog Hop!


Come Join in the Friday Hop!!!


Blocks

For Colton's birthday way back when in March I made him a puzzle from blocks that the husband so kindly cut for me. I had some left over and as I was cleaning out all my bins, I stumbled upon them and started spelling words and names out. The perfect word for this project was rock star. So, I set off and started crafting!

What you need:
blocks
paint
scrapbook paper
xacto knife or scissors
letter stickers
modge podge

What to Do:
First, paint the blocks, you don't have to, but I think it looks better when you do for a project like this. I painted mine brown to match the baby bedding. I used more than one coat of paint too. Once the blocks were all covered and dried with paint I traced them on scrapbook paper of my choice and cut out the little squares with my xacto knife. I chose to do one side, but depending on how you want to do this, you can always do more than one side. Once I had them all cut out I added a thin layer of modge podge and stuck the paper on. Once it was all dried I stuck the letter stickers on and added a layer of modge podge to seal it all.

There you have it! Finished and so cute! I am in the process of looking for a shelf to set these blocks on because the one wall looks so bare and the blocks will live a better life on the shelf that way.
Happy crafting for your Rays of Sunshine as I did for mine!


Wednesday, September 21, 2011

Repurposed Diaper boxes

I have so many diaper boxes it is unreal! I used them for moving because they are nice boxes with handles. My intention was to get rid of them. I did get rid of a lot of them, but once I found out I was pregnant I wanted to make a few of them into organization for the nursery.

The crib we bought has a changing table attached. The table has a few shelves and I thought it would be a perfect home for those boxes. Once I figured that out, my next job was to decide how I was going to cover them. With the bundle of paper I bought at Hobby Lobby I had already finished a couple projects with it and so decided to continue using it.

What you need:
xacto knife or knife
scrapbook paper
modge podge
pen/pencil
diaper boxes or regular moving boxes
foam brush
scissors(optional)

What to do:
First, cut off the folding pieces or the flaps of the boxes. Then, lay the boxes down and trace around each side and don't forget to trace where the handle is too! You will need many sheets of paper so plan ahead. Use your xacto knife or scissors and cut them out with the paper. using your foam brush put a layer of modge podge one side at a time and add the paper. I did one side at a time and then leaving it to dry. Continue with each side until the box(es) are covered. This will take time, but is worth it. The longer sides of the box are more difficult to cover because you need a couple sheets of paper to cover them. Once all the boxes are done, add a layer to the top with modge podge on each side; one side at a time. now, you are finished and can put whatever you want inside them!


I did two so far. I need to do one more for the shelf. I may be doing more for other areas of the home, but haven't thought much about it yet.
Happy crafting!

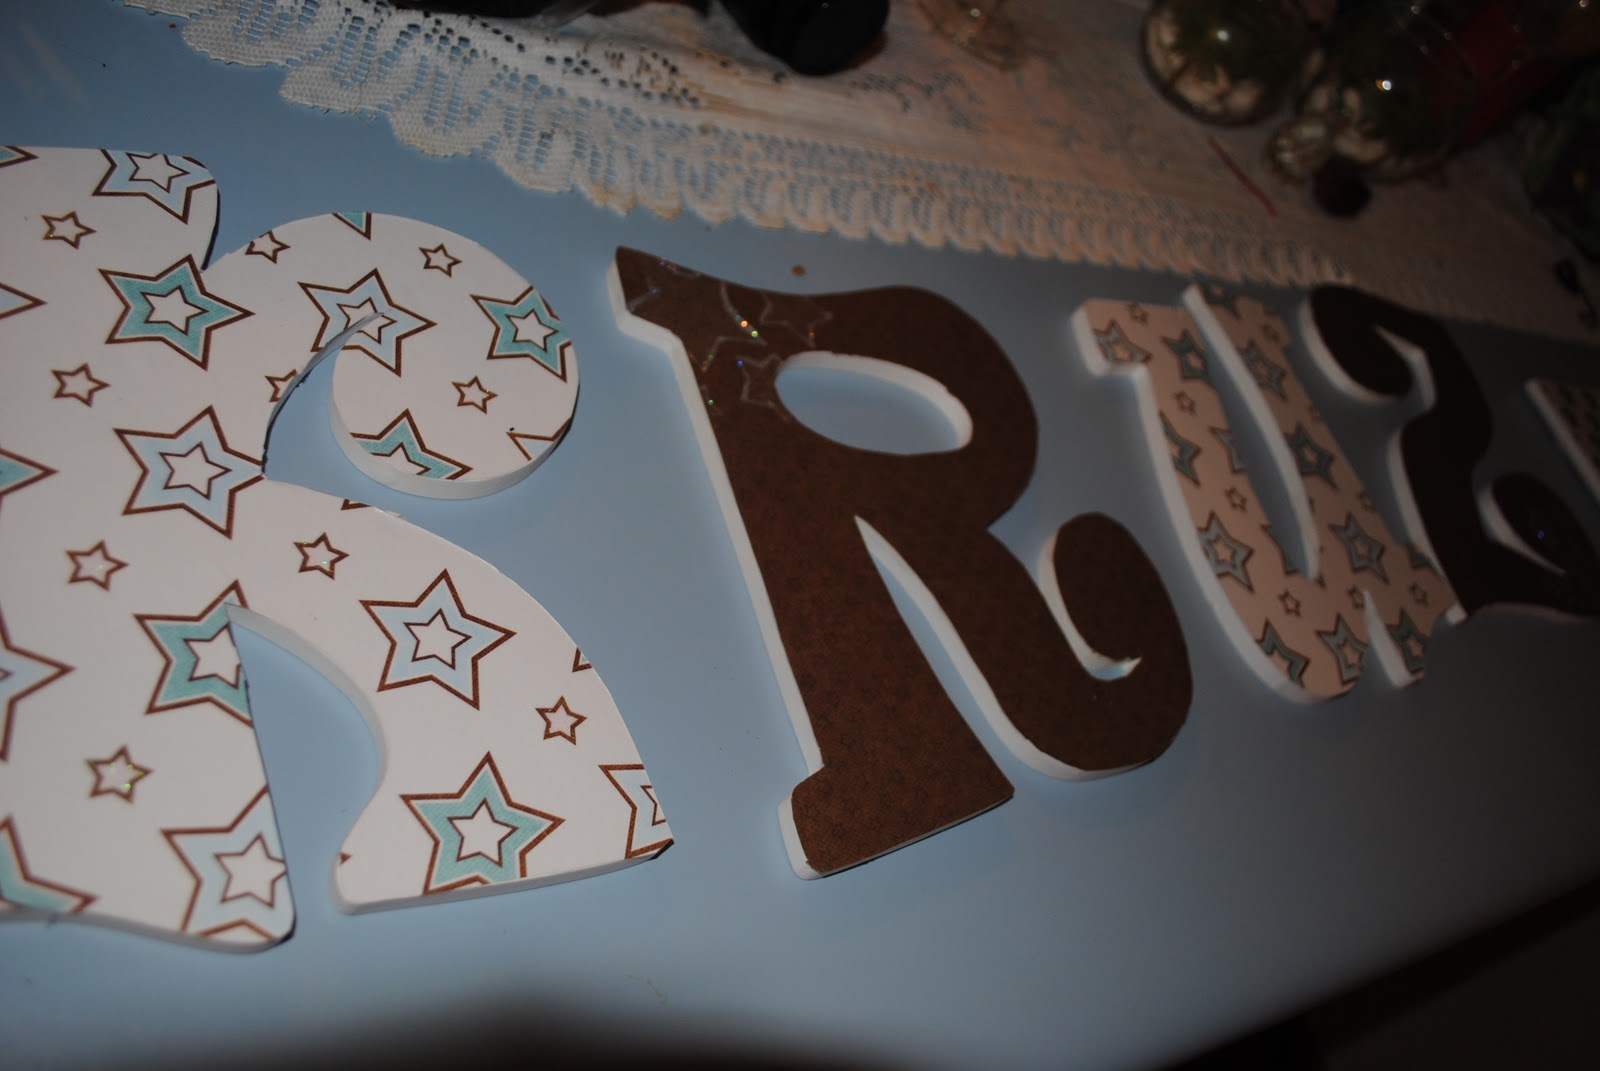
Name letters!

When I was pregnant with Colton, the letters to make a name were very popular. I of course wanted them to add some flare to his room and found some I just loved at Hobby Lobby. They were also on sale at the time which was also very nice. With Colton's I painted them a blue color.

Here I am, two years later with another baby on the way. I had to have some more letters. Walmart was pricey and the letters were small. We went to Hobby Lobby and I found some that could be possible, but I still wanted to see if by some miracle they still carried those letters. The husband and I walked through the whole store and were having no luck. I was upset, but realizing that was two short years ago. Walking through the home decor section of the store scoping it out for something nice for the house or baby boys room. Well, I heard the husbands voice say, "Hey, I found them!" I almost shrieked in excitement! Yes, I did :) Plus, they were half off!! Of course I was ecstatic and knew just what I wanted to do!

What you need:
scrapbook paper
modge podge
xacto knife
foam brush
pencil or pen

What to do:
Put the letter face down on the BACK of the paper and trace it out on the chosen paper. Do this with all your letters! This way, when you modge podge the paper to the letter it won't be backwards. Then, once they are all traced used your xacto or even scissors to cut them out. Then, take your foam brush and put a small layer of modge podge to the front of the letter and stick your paper on top. Once the letters dry, add a thin layer of modge podge to the top of the paper. When that dries you can hang them!


Happy crafting with your Rays of Sunshine!

Tuesday, September 20, 2011

Clothes dividers

For the closet, I have seen dividers by size all over bloggy land. I never got around to making them for Colton and so with having everything to make them, I decided I had to make them.

What you need:
scrapbook paper
modge podge
xacto knife
number stickers
cardboard(I used cereal boxes)
foam brush(easier to spread modge podge)

I cut out the shape I wanted for the hangers. I then cut out the scrapbook paper to match the shape using an xacto knife. I added a layer of modge podge on the cardboard stuck the scrapbook paper on and waited for each side to dry before adding the other paper. of course to seal it, I added a layer for the top. I then cut a circle a bit bigger than the closet rod using the xacto knife. I also cut a slit on the side to put it on the rod too. By the time I was done I knew I need to put the sizes on there. Well, I really didn't want to write the sizes on. I was digging through all my stickers and found some numbers, but they were months. I thought well, I could still use them and they would be cute too!


I just love how they look and to know I didn't pay a dime makes it even better!


A Baby Journal

My 1st ever project for Kruz was a journal. I have to say though I have not wrote in it yet :( I am such a procrastinator and a slacker. But I do know what I want to write and all that. Not just a journal but a book full of advice,poems,quotes,and love will fill it.

A trip to Target during the school shopping I picked up a composition notebook for .99! I found the PERFECT scrapbook paper from Hobby Lobby. Now, that was pricey. I did have a 40% coupon, so that was a plus! Modge Podge is such a wonderful invention and has been a good friend the past couple months.

I set to work one afternoon while Colton was napping. I measured both sides of the notebook and cut out the scrapbook paper. I put a thin layer of modge podge on the notebook and put the paper in place. One side at a time. letting it dry. Once dry, I put a thin layer on top. Once both sides were dry I thought the journal needed something. I looked through all my stickers and came across some cork board style letter stickers I have had but never used.


I am very happy with how it turned out!


Recipe of the Week: Mexican Cheesecake!

My mom attended a party a couple months ago and called me the next day to tell me all about this awesome Mexican cheesecake she had. She was told that it was not only easy but yummy. Well, she tried it and fell in love. My mom told me that I need to make it.
So, my opportunity came when the husband became a year older! His birthday was a couple weeks ago. He enjoys staying home and so hey, that is what we did. Plus, his birthday was during the week. But they let him out of work a little early so that was nice.
I found the recipe HERE.
What you need:
2 cans of crescent rolls
2cups sugar
1/2 cup melted butter
cinnamon
2 blocks cream cheese
2tsp vanilla
9x13 casserole dish
pam/cooking spray to grease down the pan
mixer
rubber spatulas

To Make:
Spray the 9x13 dish down with cooking spray. Press 1 roll of crescent rolls in the bottom of dish.
Mix 2 blocks cream chesse, 1cup sugar,and 1ts of vanilla until fluffy.
Spread the mix onto the crescent roll bottom. Roll out the other can of crescent rolls on top of the 2 layers and pinch the crescent rolls together creating a seal.
Melt the butter and remaining 1 cup sugar until sugar dissolves. Add the remaining 1tsp vanilla to mixture and pour over the cheesecake. sprinkle with cinnamon.
Bake at 350 for 30 minutes and enjoy!

When I made this, it was right around dinner time so I set it out to cool, we ate dinner, then ate some. it was still warm and OH MY LORD! It was heaven!!!! I then put the rest into the fridge and enjoyed a piece later that night OH MY LORD!! Still so good!!!!!!!!!!!!!!!

ENJOY like I did with My Rays of Sunshine!