Here I am, two years later with another baby on the way. I had to have some more letters. Walmart was pricey and the letters were small. We went to Hobby Lobby and I found some that could be possible, but I still wanted to see if by some miracle they still carried those letters. The husband and I walked through the whole store and were having no luck. I was upset, but realizing that was two short years ago. Walking through the home decor section of the store scoping it out for something nice for the house or baby boys room. Well, I heard the husbands voice say, "Hey, I found them!" I almost shrieked in excitement! Yes, I did :) Plus, they were half off!! Of course I was ecstatic and knew just what I wanted to do!
What you need:
scrapbook paper
modge podge
xacto knife
foam brush
pencil or pen
What to do:
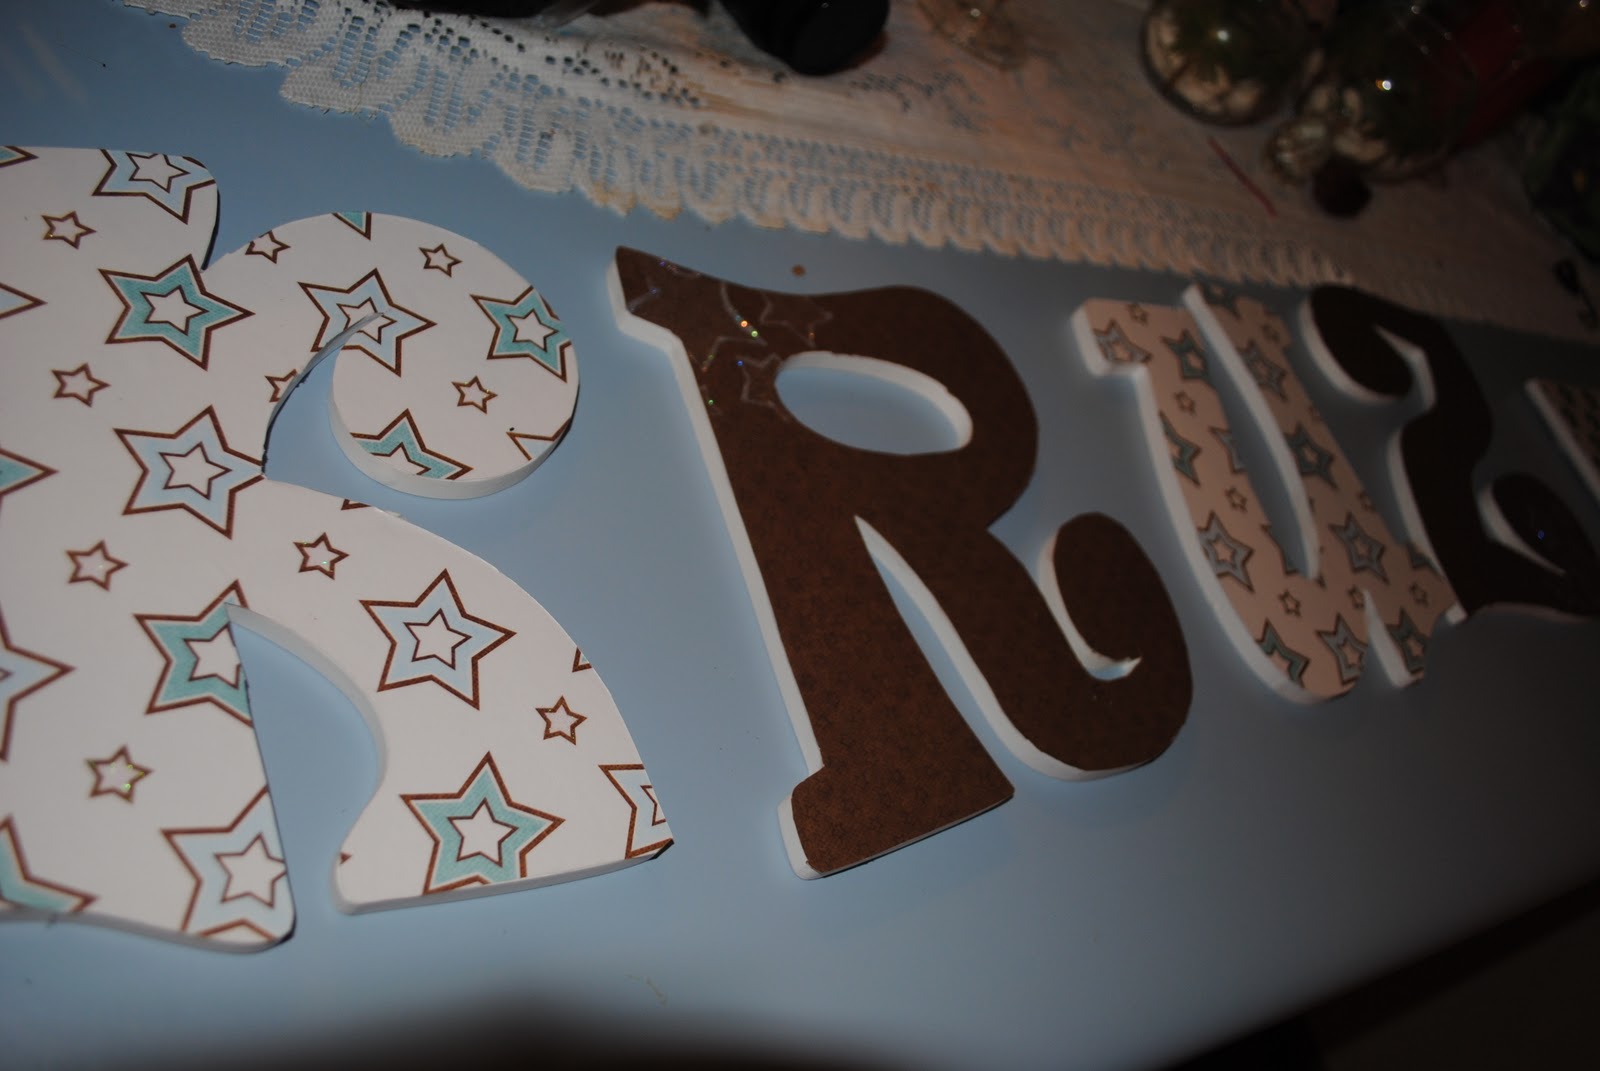
Put the letter face down on the BACK of the paper and trace it out on the chosen paper. Do this with all your letters! This way, when you modge podge the paper to the letter it won't be backwards. Then, once they are all traced used your xacto or even scissors to cut them out. Then, take your foam brush and put a small layer of modge podge to the front of the letter and stick your paper on top. Once the letters dry, add a thin layer of modge podge to the top of the paper. When that dries you can hang them!

Happy crafting with your Rays of Sunshine!


0 comments:
Post a Comment
Leave some love!